Saturday 18 April 2015

Upcycled Sake Box as Succulent Planter

I got a sake box a few weeks ago, and I always wanted to turn it into an upcycled succulent planter. Initially I wanted to turn it into a container for living wall, however, after a few considerations, I decided to use it for my first "logical grouping succulent plants arrangement". Why is it a "logical grouping succulent plants arrangement"? Well, because I want to replant all my succulent plants based on their water and sunlight requirements so that it is easier for me, and hopefully my plants get higher survival rate.
I do not have an electrical drill so I'm doing this the traditional way: a hammer and a screwdriver.


First, make a small dent by using screwdriver, with the help of hammer. Once the surface already have a dent, it is easier to screw and make the hole larger and larger. (Do note that even though it should be easier to make the holes at the back of the box, but from physics point of view, even as weak as me, I could easily crashed the box using hammer. Hence, I recommend to put the box upright on a firm surface for this purpose.)

Once the hole is formed, you can now turn the box and continue to make the hole larger from the other side.


I made only 5 holes. If you wish to have bigger holes, pick a bigger diameter screwdrivers.


There are very complicated advises online on how to choose the soil and how to make your own mixture etc. However, I decided to go for the easiest: pebbles and soil.

Even though I love my succulent plants, I do not allow them to turn me into a control freak and a protective freak. I decided to follow the law of evolution, let the fittest survive. Those that survive will continue to become my pet plants. Those that can't, I'll be sorry for them (and my wallet too), but I won't do anything more complicated than what I'm currently doing. Life is too short to worry about the mixture ratio of my succulent plants soil.

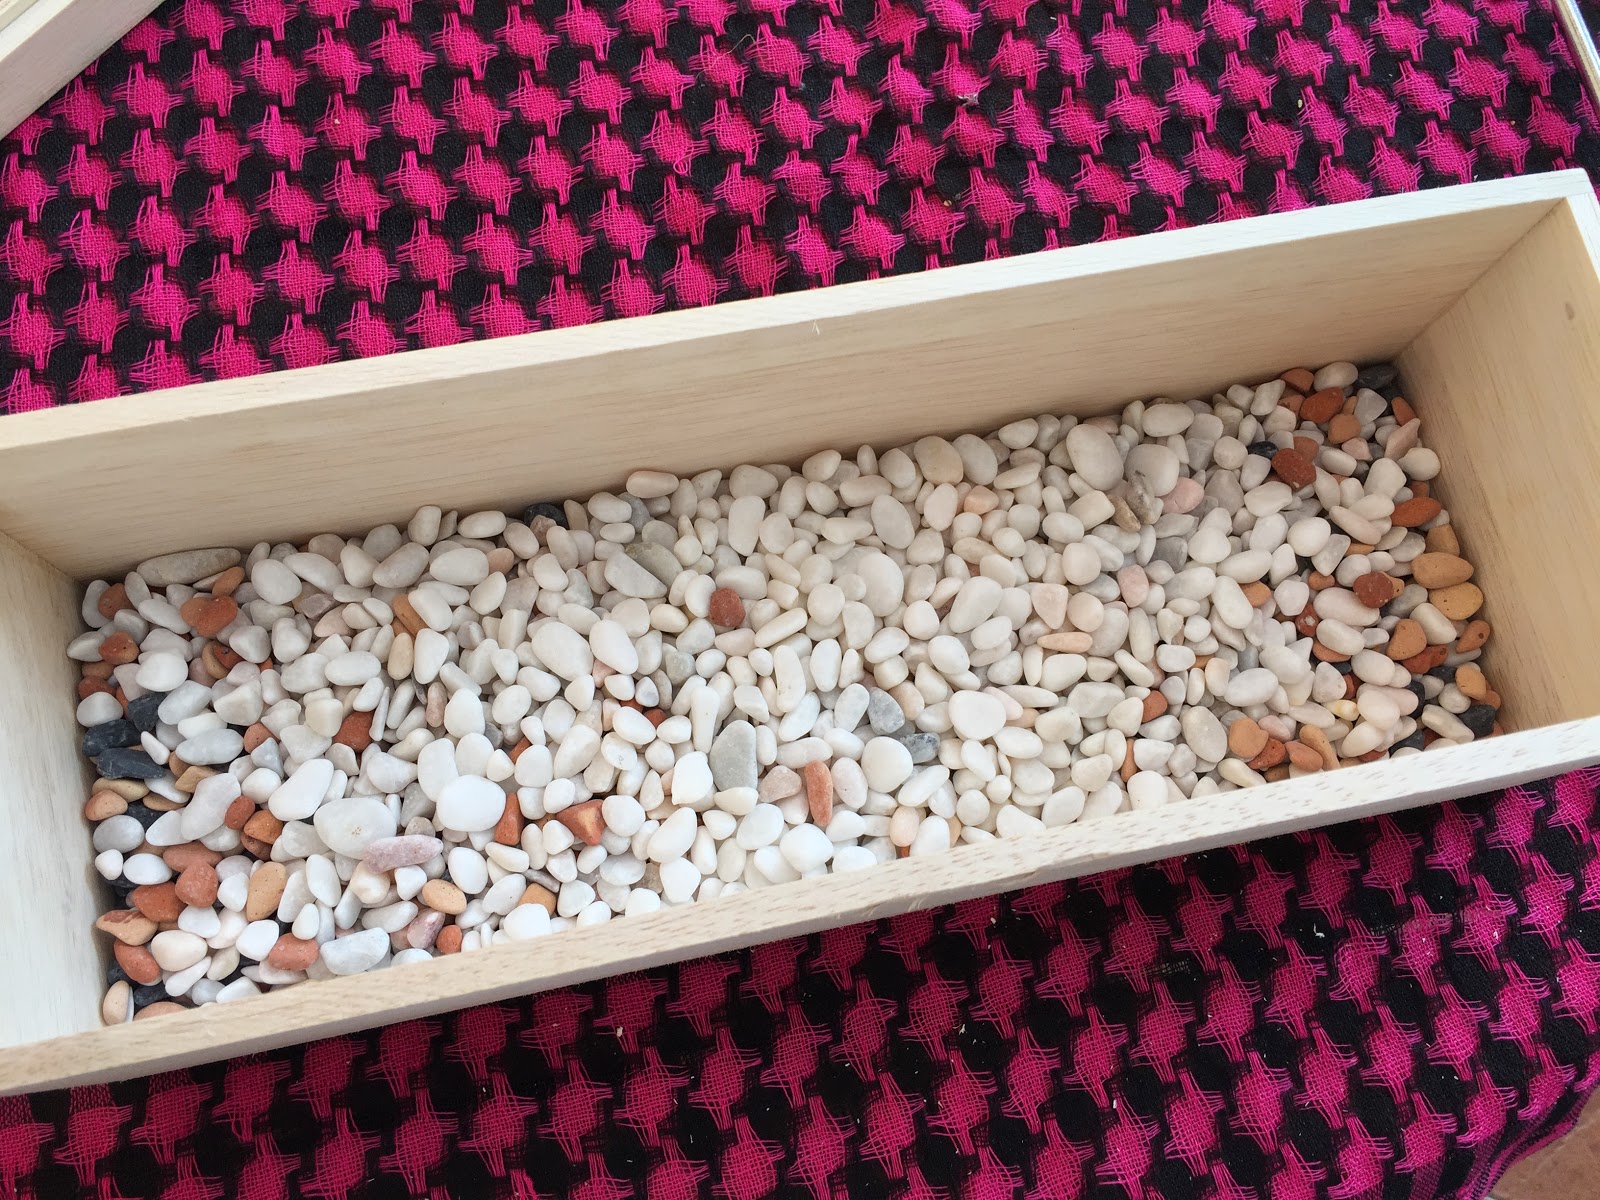
So, first, for the bottom layer, pour in an inch or more of pebbles.


Add soil (I just use whatever I have in my garden) on top of the pebbles layer.


I do spray some roots-growing-fertilizer at the bottom layer of soil, hopefully can encourage the newly transferred plants to suit to the new environment better.


Add more soil and transfer the same group of plants together. These following 5 plants that I picked are said to need 4 hours of sunlight per day, and need water twice per month (this, I'm not following. Will update the water amount needed in the future after I do my DOE)


Then, for aesthetic purpose, I added white pebbles to let my cute little succulents stand out. I use a spoon for this purpose so that it is easier for me to control.


Finally, I use a brush to remove the dirt.


Tada!! The new happy family:


Sedum rubrotinctum (虹之玉)

Highly suspected to be the baby of 鹿角海棠

Crassula perforata (星乙女)

Kalanchoe tomentosa (月兔耳)

Echeveria 'Perle von Nürnberg (紫珍珠)

Hopefully they can all grow healthily and live at my house happily ever after :)

Succulent Plants Care in Tropical Countries

I started to fall in love with succulent plants a few months ago. I have sacrificed a few plants as a new owner, and hence started to learn online on how to take care of these sensitive babies. Unfortunately, most of the blog owners are from temperate zone. Most of the advises are not applicable for us in the tropical countries. So, I decided to start a new label "Succulent Plants" and "多肉植物" in my blog to share what I've learnt, to share my experiments, to share how I decorate them etc.


I mainly follow the field guide written by 二木花花男 to identify my plants, and to group them into different categories base on their requirements of sunlight and water. Image below shows the example. The sunlight indicator of 4 suns show that they need 4 hours of sunlight per day; the water indicator of 3 droplets show that they need to be watered 3 times per month.


Do note that due to the field guide can only be our reference but not to follow strictly. We at tropical countries are too warm, too humid! And we do not have the huge temperature fluctuate within a day. So I only use them for grouping purpose but I still have to do my DOE to learn how to control the watering.

Example of how I group them together: Upcycled Sake Box as Succulent Planter

Sunday 12 April 2015

出淤泥的宝贝

这,要和大家分享我的植物淘宝初体验。

话说我们迷上多肉植物,决定到淘宝找一些这儿没有的品种。适逢农历新年,我们一群淘宝客难忍没得购物的煎熬,依旧上网找着看着,一开市,我不知不觉就买了两颗迷你睡莲的根块。

我们新年后的第一批网购,于三月十七日到达我家。

包装有点儿随便

块根和我想象中的有一点出入。同事说,她要看到这个样子,应该当垃圾给丢掉了。
两个块根

我找了个器皿,加土,把两个块根埋入,浇上水即可。


一个星期过后,发芽咯~ 我便把发芽后的睡莲连器皿一起放入我的小水池。


十天后,叶子都长出水面了


这是9.4.2015时我的迷你睡莲的模样:


感觉上我现有的小盆太拥挤了,于是今天决定来个搬迁大行动。首先,把原本的土呀、植物等都掏空,然后把两棵迷你睡莲分种于两个小盆,这才开始landscaping的工作。


由于这是临时决定(原本要锄地设计花床,但看风雨欲来的样子,还是找个‘半室内’project即可,这才决定小池塘大搬迁),材料有限,决定在原有的物品中变化,改天再增添。

换了个大盆,最开心的就是鱼儿们。从project完毕到现在它们还在兴奋地游上游下的,更爱在流水处戏水。这小小project可真的做对啦~

禅味十足的趣味小乌龟一定要继续用

木头假山、空凤和近乎不必照顾的翡翠木照样上场

我的迷你睡莲们和浮萍们终于有松动的空间啦~


Friday 10 April 2015

The White House

When I was small, maybe around 4 or 5 years old, my dad used to work in Kota Bharu for a brief period. I don't have much memories about that place, only pieces here and there of the good old days.

I remembered the stairs beside dad's office that leading up to second or third floor to our hostel; I remembered my metal frame bed where I always secretly throw grape seeds into a hole on that frame, hoping for a vine bed;

I remembered the flood and some weird Malay-grammar-hokkien;

I remembered the Malay girl that always come to play with me. I spoke zero Malay or English then, and she spoke zero English or Chinese. However, we did have great time playing masak-masak and many other games that I couldn't recall now;

I remembered the banana leaf curry house. Back then, eating with bare hand, taking food from the banana leaf was a special experience for me;

And among these, the one that I had the most vivid memory is "White House". Some how, I always remembered the red-brick columns, the chairs, and the perfect half-boiled-eggs. As a 4 years old (or 5), I think my mum fed me only the half-boiled eggs and bread from this shop while they had those awesome nasi dagang.

So every time I visit Kota Bharu, I have to make sure that "White House" is in my itinerary. For nostalgic reason, and for the great childhood food.


I respect the person who did the DOE and perfected the half-boiled-eggs. Today, they are still using this traditional method of metal cup and boiled water, and yet, the half-boiled-eggs are better than those that I cook with the Tupperware half-boiled eggs cooker.

All of us ordered a set of famous half-boiled eggs + roti bakar with kaya and butter + coffee. Of course, we also sampled all the types of rice being sold there. My personal favorite is the nasi dagang. THE BEST!

Nasi Topeng

Nasi Lemak

Nasi Dagang Ikan

Nasi Dagang Ayam

We were so impressed, that we stopped here for the kaya and coffee before we traveled back to Penang. However, by the time we reached, the shop was already half-closed. We plead to the shop owner and finally they agreed to sell us a dozen bottles of kaya, and a few loaves of bread. No chance for coffee though as the kitchen was already closed.


Address: 1329-L, Jalan Sultanah Zainab, 15050, Kota Bharu, Kelantan, 15050
Phone:09-748 4119

Thursday 9 April 2015

心系东海岸


我一向来爱东海岸。喜欢那纯朴,更爱南中国海的浩瀚。

我们沿着海岸线随意地驾着,我原本想要一路驾到丁加奴去,但我们之前在双龙寺多呆了一些时间,反正自驾游,反正东海岸必不差,也就找个无人海滩,铺上picnic mat,吹着海风,感受着真正的平静。


Tuesday 7 April 2015

Wat Phothikyan Phutthaktham

Based on previous experience, I tried very hard not to visit all the famous temples in Kelantan under the hot sun. I asked the rest to pick their "must go" but no response. So we ended up with only one: Wat Phothikyan Phutthaktham (also known as Double Dragon Temple). I was planning for a brief stop at this place before our half-day-beach trip. However, we ended up spending hours here, mainly due to:

The white "Guan Yin" standing marvelously under the clear blue sky


The magnificent wishing tree:


And the cuteness overloaded puppies:


Of course, some spent great effort making wish:


And most importantly, Selfie Queen took tons of Wefie photos:


Monday 6 April 2015

Batik Workshop

Attending batik workshop is one of the highlight of our previous trip. However, we had zero expectations and preparations then, causing us couldn't maximize our experience. Besides, our 'masterpieces' were accidentally sent to an Australian family when they left Pasir Belanda Resort. It took months for them to come back to us. By the time we received, the magic and excitement were already faded.

This round, we attended the workshop prepared. I warned everyone to think of what they want to draw, and everyone googled for their favorite pictures / pattern before the workshop.

So as soon as the teacher let us start drawing, everyone immediately jump into action.


The workshop is still at the same old place. Very basic, super hot and humid! As before, I wish I can complete my batik drawing as soon as possible so that I can run away from the heat.

This round, things get even excited! We met the super huge spider. It was just behind me, hanging, while I tried my very best to pretend that it was not there.

We suspected that it is our batik guru'e pet. "If you run out of ideas, you can just watch the spider and be inspired", that's what our guru told us. A totally not useful tip.


Very kind Jass added his hand in this picture to give you better perception of the size of the spider

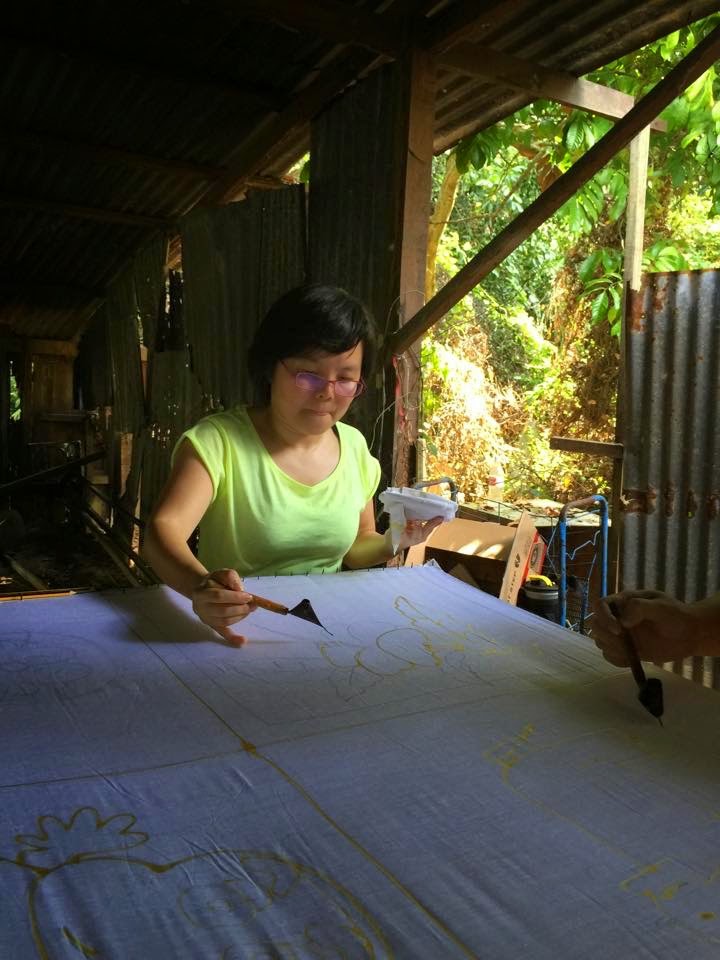
Here are the tools for batik drawing. As I said, super basic. First, we use pencil to sketch on a white cloth. Once done, you can start to draw with hot wax by using the custom made fixture. It was done by dipping into the hot boiling wax, and slowly let the wax flowing out from the tip and cover the drawn lines. The thickness of the wax can be adjusted by controlling the flow of the wax.  


Step 1: draw

Step 2: cover the lines with wax

This is how it looks like after covered with wax

The final step for the participants is to colour the batik. We had great fun experimenting the colour mixing / layering and various technique.

Photo session with our drawings before the workshop owner process them with chemical

The next morning, we received our end products. We couldn't help but took tons of photos :)


My end product: much better than my first trial

The proud artist