This round, we attended the workshop prepared. I warned everyone to think of what they want to draw, and everyone googled for their favorite pictures / pattern before the workshop.
So as soon as the teacher let us start drawing, everyone immediately jump into action.


This round, things get even excited! We met the super huge spider. It was just behind me, hanging, while I tried my very best to pretend that it was not there.
We suspected that it is our batik guru'e pet. "If you run out of ideas, you can just watch the spider and be inspired", that's what our guru told us. A totally not useful tip.
 |
| Very kind Jass added his hand in this picture to give you better perception of the size of the spider |
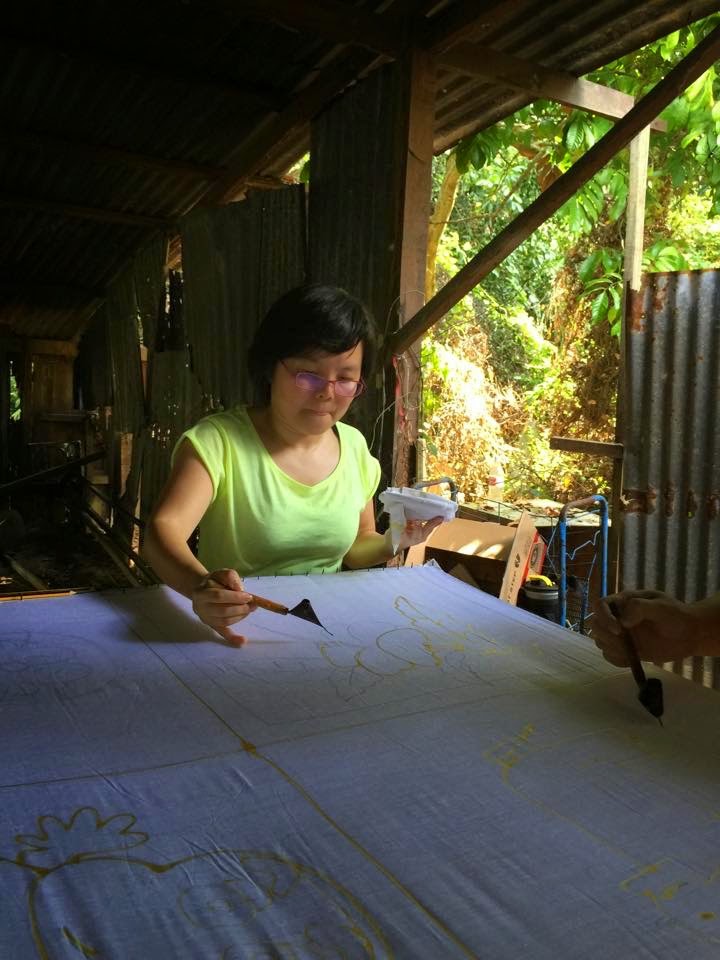
Here are the tools for batik drawing. As I said, super basic. First, we use pencil to sketch on a white cloth. Once done, you can start to draw with hot wax by using the custom made fixture. It was done by dipping into the hot boiling wax, and slowly let the wax flowing out from the tip and cover the drawn lines. The thickness of the wax can be adjusted by controlling the flow of the wax.


 |
| Step 1: draw |
 |
| Step 2: cover the lines with wax |
 |
| This is how it looks like after covered with wax |
The final step for the participants is to colour the batik. We had great fun experimenting the colour mixing / layering and various technique.
 |
| Photo session with our drawings before the workshop owner process them with chemical |
The next morning, we received our end products. We couldn't help but took tons of photos :)

 |
| My end product: much better than my first trial |
 |
| The proud artist |
No comments:
Post a Comment